Build a Machine Learning Model On Cloud Using Google AutoML

I am a Data Engineer I love Python! I am based in Singapore I have good knowledge on cloud I have some knowledge on building Machine Learning Models I have helped 30+ companies use data effectively I have worked with Petabytes scale of data I write @ TowardsDataScience Nowadays I am focusing on learning Natural Language Processing Ask me about anything, I'll be happy to help.
Image from zdnet.com
Your guide to build, train, and deploy a machine learning model using Google Cloud.
Machine learning (ML) is the latest technological advancement, helping drive processes at a scalable level. The models running these complex processes can be understood simply as a mathematical equation that is trying to learn from a given data set and predict values.
Running these esoteric processes is considered a forte of data scientists who have the knowledge and capability to build the ML models. However, big cloud companies such as Google are breaking down the norm to help even those with minimum knowledge create complex ML models using its AutoML Vision.
What is AutoML Vision?
AutoML Vision is one of the ML products by Google, designed for developers with basic or limited machine learning expertise and cloud knowledge to train custom high-quality image classification or object detection models in a few hours. It leverages Google’s transfer learning and neural architecture search technology.
Being a data engineer most of my work is around creating models with time-consuming processes such as — data collection, cleaning, organizing, scaling, deploying. Tools like Google’s AutoML Vision allow data engineers like me to easily get into machine learning by simplifying it.
AutoML Vision is cost-effective as it can reduce the cost of hiring multiple data scientists, especially for startups, who want to leverage machine learning for their products. Being scalable, the model can be easily deployed for millions of requests on Google cloud.
*](https://cdn-images-1.medium.com/max/2430/0*FjjykD1RgGfz43my)
How to build AutoML Vision classification
In the guide below, we will make a simple ML model using Google’s AutoML Vision for ease of understanding.
- One of the first things we need is a good dataset. For this, I went to Kaggle for an image dataset of dogs and cats.

- Once you download the dataset, the next step is to set up AutoML on your Google Cloud.
- To setup AutoML on your Google Cloud, go to Google Cloud console and create a new project

- Go to AutoML Vision datasets and enable AutoML API. For this, you must have billing enabled.
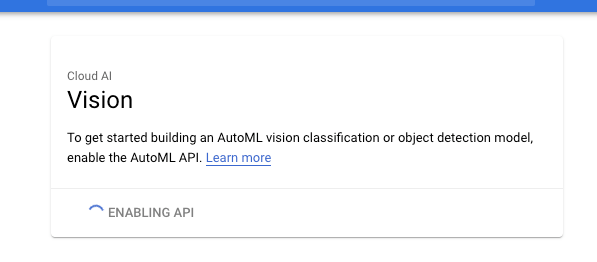
- After you have enabled the billing, you must see a panel like the one shown below.

- Now click on Datasets in the left panel, then on New Dataset and name it ‘dogs_cats’

You will see 3 classification options; all of them have different use cases
Single-Label Classification — If there is a single label (outcome) in the image. In our case, it is either dog or cat. Hence, we will select this option.
Multi-Label Classification- This is used when there are multiple labels or outcomes in the image. For example, identification based on the breed of the dog or cat.
Object Detection — This is used when you want to detect objects in the image such as trees, bricks, houses, and horses, etc. It requires the annotation of the image.
Select the Single-Label Classification, we need to upload images with the correct label. There are multiple options to upload images, but for beginners, we can directly upload from your local computer.
Click on Select Files, then choose Upload images from your computer.
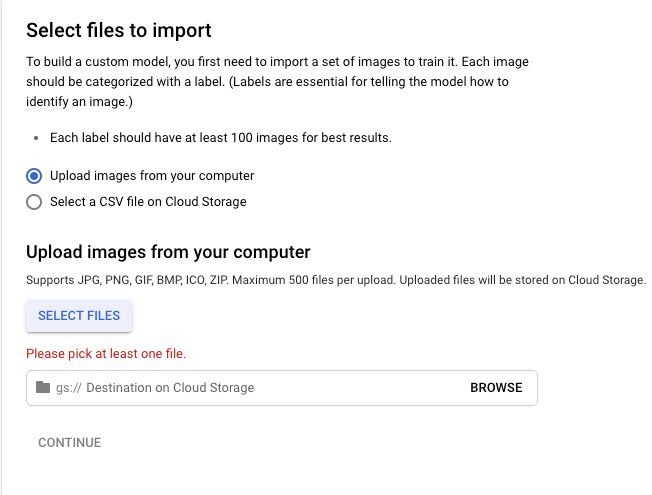
- Select all cat images from the training_set cat from the downloaded dataset.

- You will need to select a Google Cloud storage bucket. This is where the images will be uploaded. When you got to browse, first create a new bucket and then select it.

Once you define the destination storage bucket for the images, the Continue button will be enabled. Clicking on it will begin the process of uploading images.
Image uploading will take a while. Once finished, go to the images tab and select the unlabelled checkbox. You will see all the uploaded cat images here.
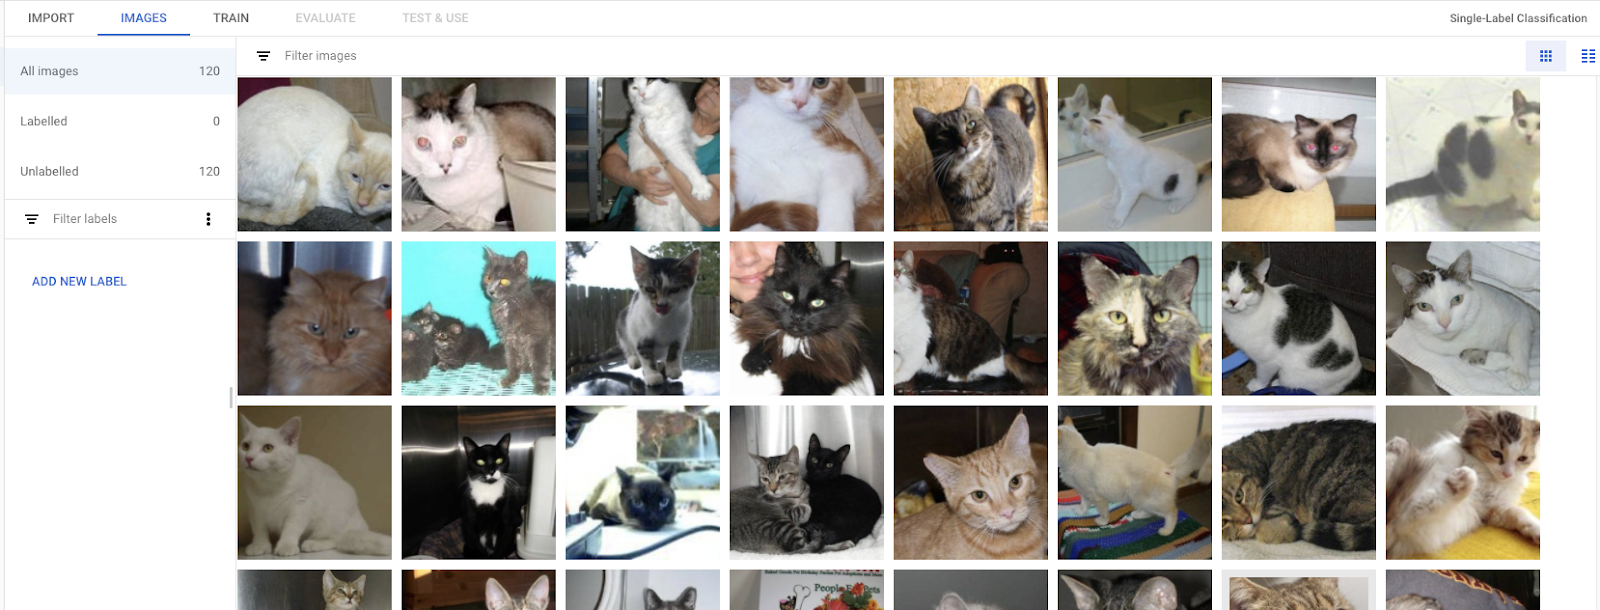
Now click on add new label and name it ‘cats’.
Select all images using all checkboxes and click on assign label to cat and save.

- Now all these images are under the ‘cat’ label.
- Repeat the steps to upload images of dogs from the downloaded dataset and then assign them ‘dog’ label and save.
- Now that all our dataset has been uploaded, it’s time to train the model. Go to ‘Train’ tab
How big should the dataset be?
It is worth mentioning that while training ML models theoretically require a large dataset, Google’s AutoML Vision works well even with such a small dataset of 100 images. This is because the tool is based on transfer learning which essentially means you are training on top of Google’s model with the last layer of the neural network.
This sample training should be covered in the free trial of your google cloud account. You can check the pricing for training ML models by following this link. These costs are significantly lesser than having a full-time data scientist on board to do the work.
To leverage Google’s offering and maximize the output of the model, the goal should be to include as much dataset as possible.
Let the training begin
To begin training, click on ‘Start Training’. This will take you to the final steps where you will define the model and set the node budget.
Select the cloud-hosted option and default node hour budget to 16 node hours.

- Check the box labeled ‘Deploy model to 1 node after training’ and click on ‘Start Training’.

Depending on the data set, the training time would vary. With our dataset, the training should take less than an hour while the deployment will take longer.
Once the training is done, you will be able to see the quality and specifics of the model which has been trained.
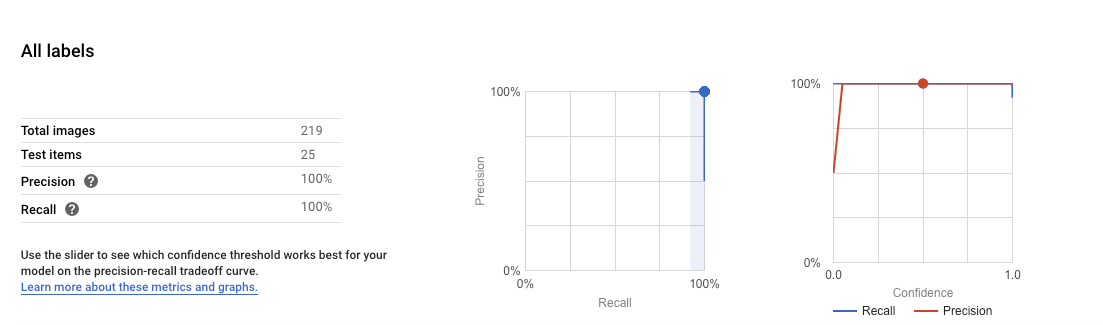
- This provides data on precision, recall, count of images, along with the Confusion matrix. Like humans, the ML models are prone to get confused due to incorrect labeling or confusing labeling.
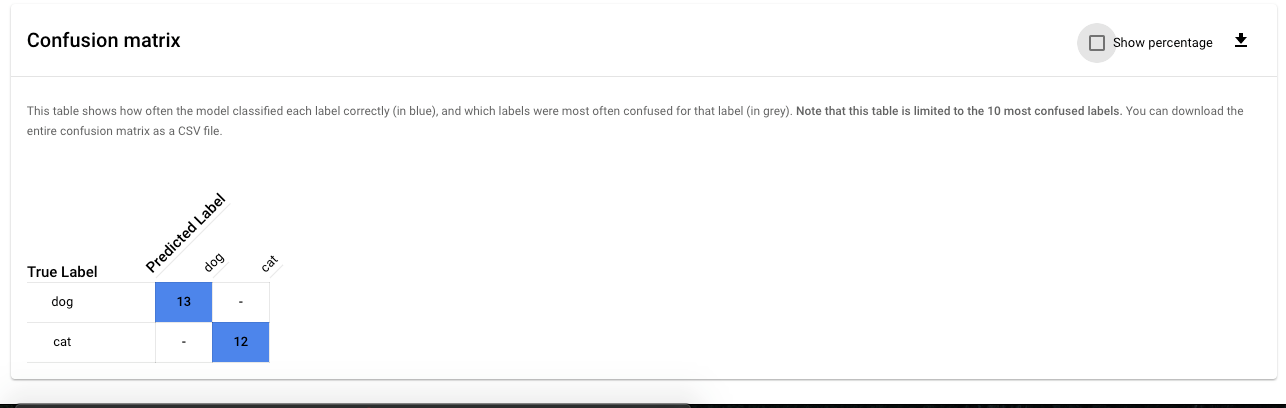
- The confusion matrix shows how often the model classified each label correctly (in blue), and which labels were most often confused for that label (in grey). This table is limited to the 10 most confusing labels.
Using the ML model
It is easy to use the model we have just created and trained. Simply go to ‘Test & Use’.
You can use an uploaded image to test it manually. Go to your downloaded images > test folder > select any of the cat or dog images.
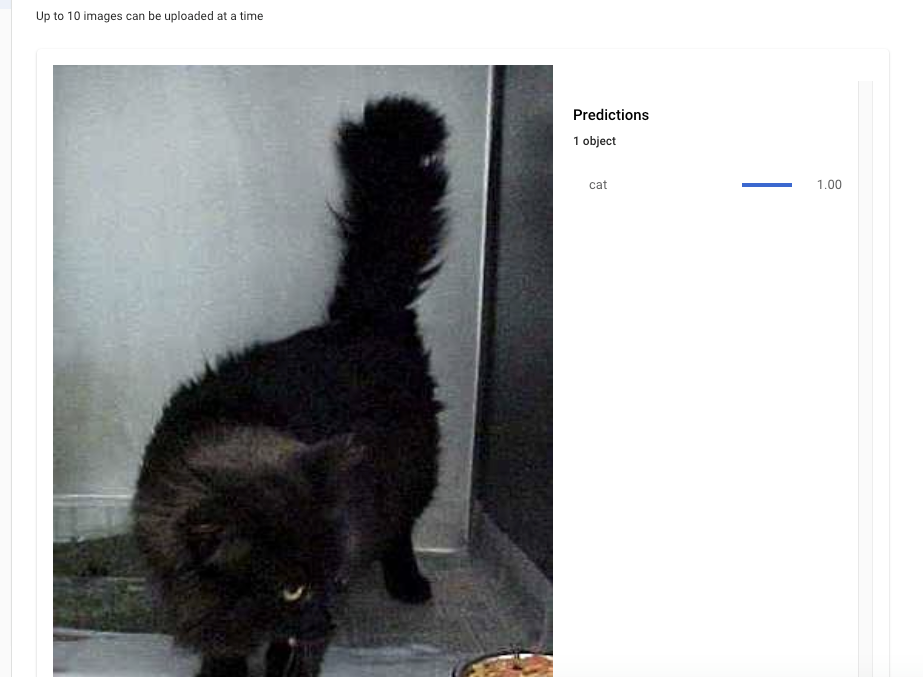
- The model will be able to easily predict any new images of cats and dogs. You have now successfully trained a model that can predict unknown images based on the pre-fed dataset.
Integration of the ML model
Now that you have created and tested out the ML model, you can integrate it with your application.
For integration with REST APIs :
request .json
{ "payload": { "image": { "imageBytes": "YOUR_BASE64_ENCODED_IMAGE_BYTES" } } }
Curl command
curl -X POST -H "Content-Type: application/json" \ -H "Authorization: Bearer $(gcloud auth application-default print-access-token)" \ https://automl.googleapis.com/v1beta1/projects/917835004810/locations/us-central1/models/ICN4414051002357907456:predict \ -d @request.json
Integration with python
import sys

from google.cloud import automl_v1beta1

from google.cloud.automl_v1beta1.proto import service_pb2

# 'content' is base-64-encoded image data.

def get_prediction(content, project_id, model_id):

prediction_client = automl_v1beta1.PredictionServiceClient()

name = 'projects/{}/locations/us-central1/models/{}'.format(project_id, model_id)

payload = {'image': {'image_bytes': content }}

params = {}

request = prediction_client.predict(name, payload, params)

return request  # waits till request is returned

if __name__ == '__main__':

file_path = sys.argv[1]

project_id = sys.argv[2]

model_id = sys.argv[3]

with open(file_path, 'rb') as ff:

content = ff.read()

print get_prediction(content, project_id, model_id)
Run
python predict.py YOUR_LOCAL_IMAGE_FILE 917835004810 ICN4414051002357907456
Other Google Cloud AutoML Offerings
Now that you have successfully created, trained, and deployed an ML model using Google’s AutoML Vision tool, you can advance your learning with other ML tools by Google. These include AutoML Video Intelligence (Beta) for creating content discovery and video experiences, AutoML Natural Language for text-based language processing, AutoML Translation for models to detect and translate between languages, and AutoML Tables (Beta) to auto-build and deploy machine learning models on structured data.